


How to add menu to slideout
To add a menu to slideout menu (Burger Menu) you need to menu to “Slide Out Menu” location.
1. Open Appearance / Menus
2. Choose/switch to menu that you want to show in a slideout.
3. Scroll down to the “Menu Settings” block at the bottom of the page and assign the menu to one of the “Slide Out Menu” locations in the “Display Location” box.
Once everything is done, be sure to click the “Save Menu” button.
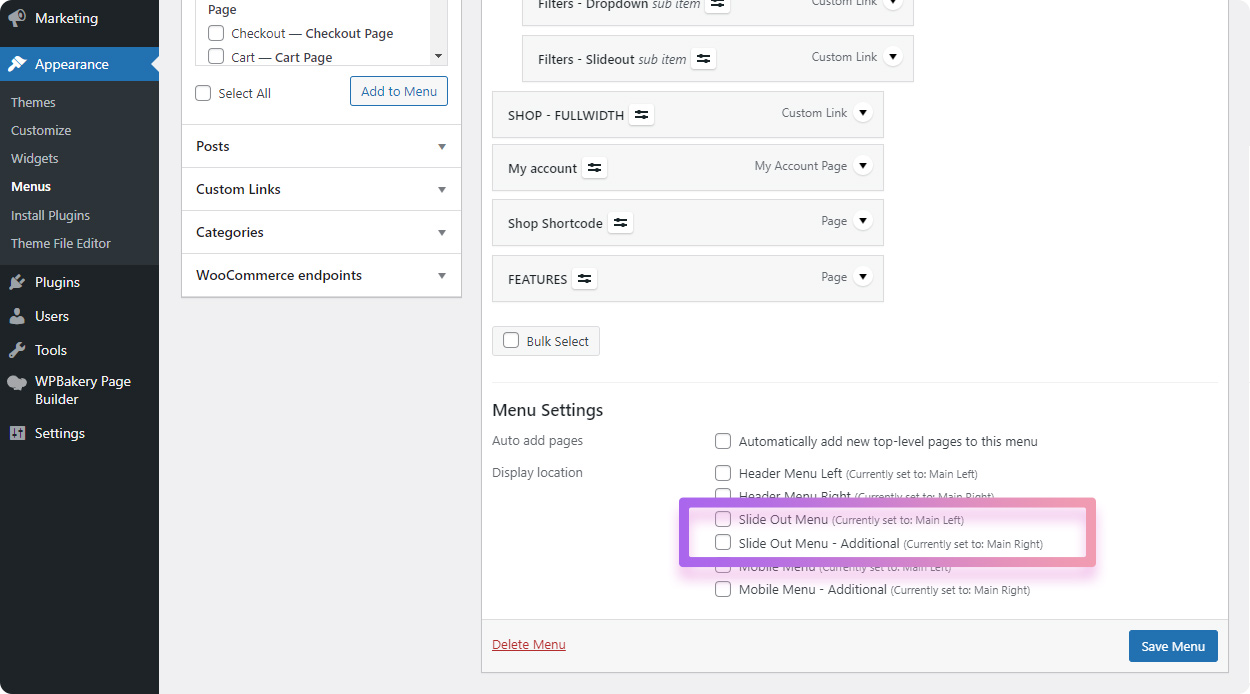
There are two “Slideout Menu” locations so you can add two menus. This can be usefull if you have two menus in header and you are hiding menu on sticky header and showing slideout menu instead. In this case you need to assign both of you header menus to slideout. So you can assign left header menu to “Slide Out Menu” location and right header menu to “Slide Out Menu – Additional” location.
Add slideout menu button to header
After you assigned menu to slideout location you need to add a button to header which will open a slideout. You can do this in Header Builder.
- Open Retro / Header / Header Layouts
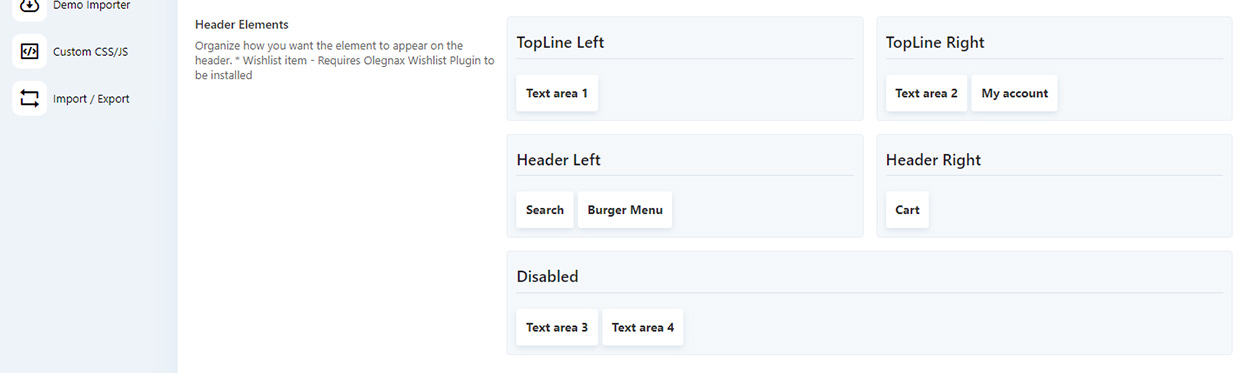
- Scroll to Header Elements
- Drag Burger Menu item to the desired header location:

After that you can adjust how slideout menu button looks in menu in Retro / Header / Header Items. And add a custom content to a slideout.

