


Where to find menu settings?
Go to Appearance > Menus in the WordPress sidebar.
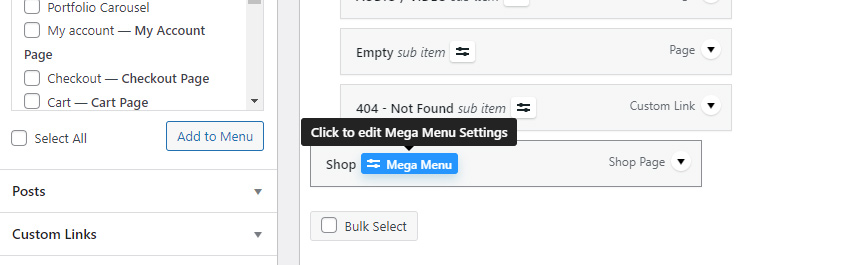
Click on the “Mega Menu” button located next to the menu item name. Note that it is minimized to an icon only ![]() when mouse is not over the menu item.
when mouse is not over the menu item.
This will open a modal where you can customize your menu item as well as a drop down.
I don’t see “Mega Menu” button! What to do? You need to save menu after you added a new item for “Mega Menu” button to appear for this menu item.
Menu Item settings
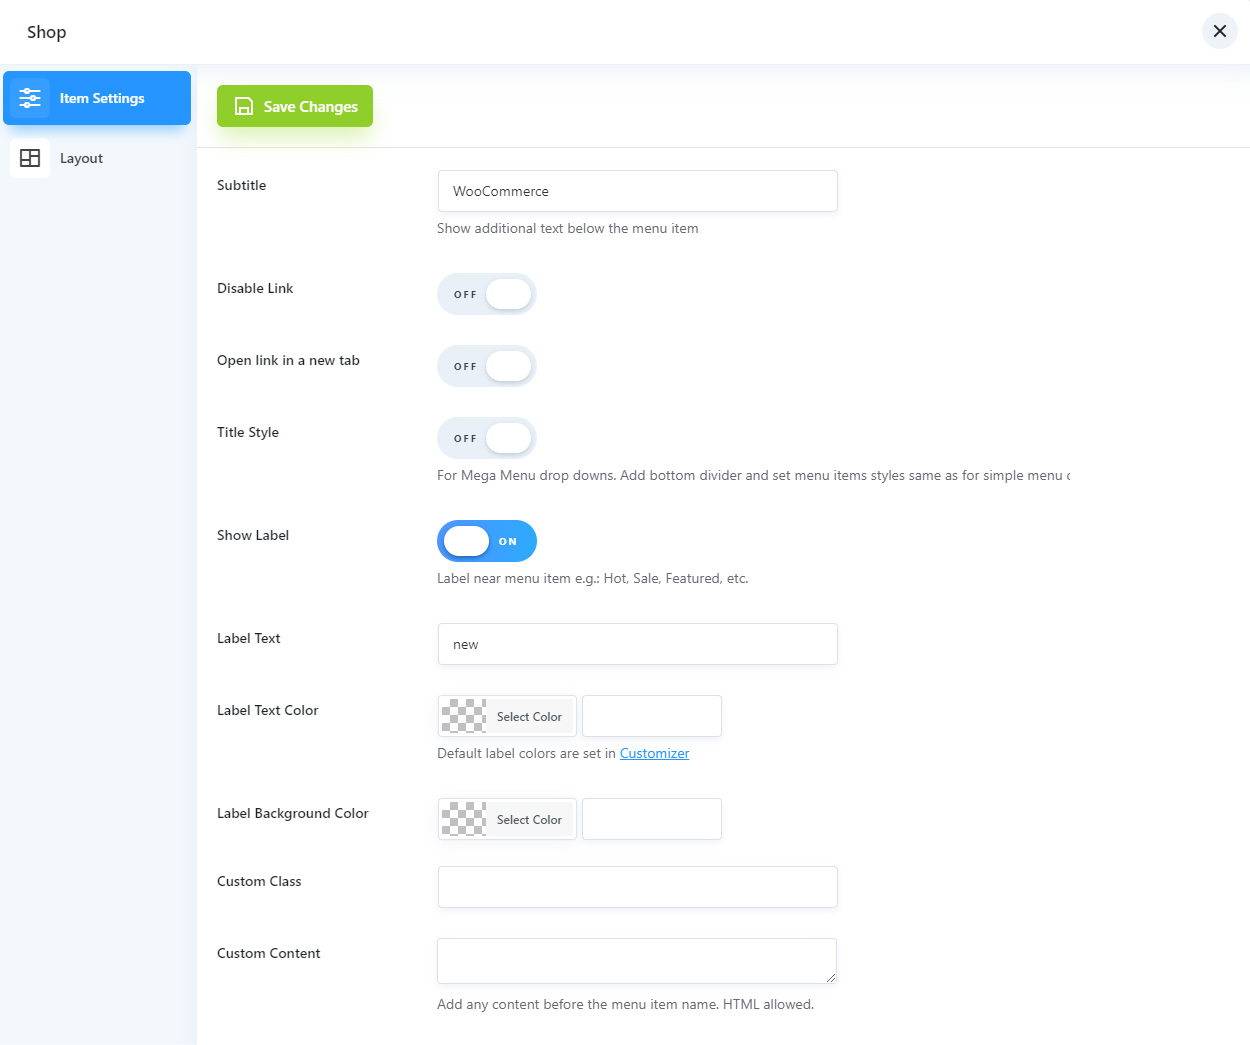
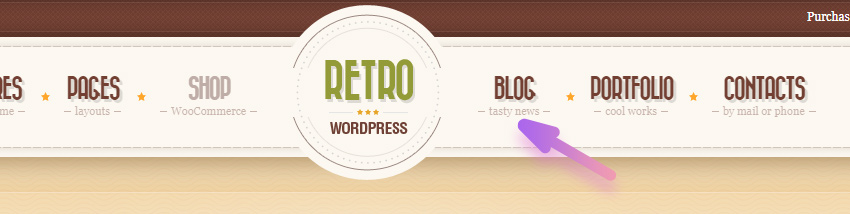
Subtitle – this is a small text below the menu name. See image below.
Disable link – allows you to remove a link from a menu item.
Title Style – this option will force menu item to be rendered as a regular drop down items, with the same font size and dividers. By default mega menu items are rendered as regular menu items anyway so this option is usefull only if you changes font settings for mega menu items Retro / Font Options
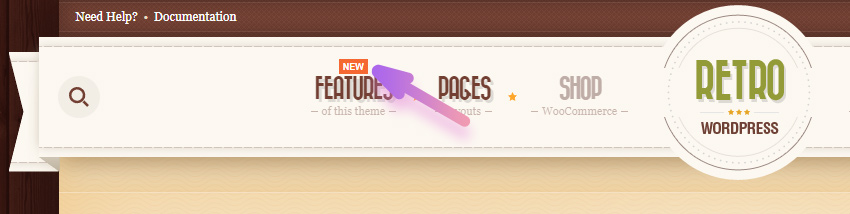
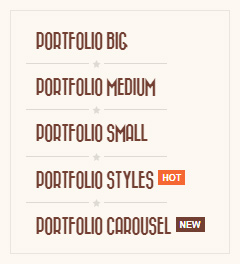
Show Label – this option allows you to add a label above or near menu item with any text or colors.
Custom Content – allows you to add whatever you want before the menu item but main purpose is to allow you to add an image/icon near menu item.
Menu Drop Down settings
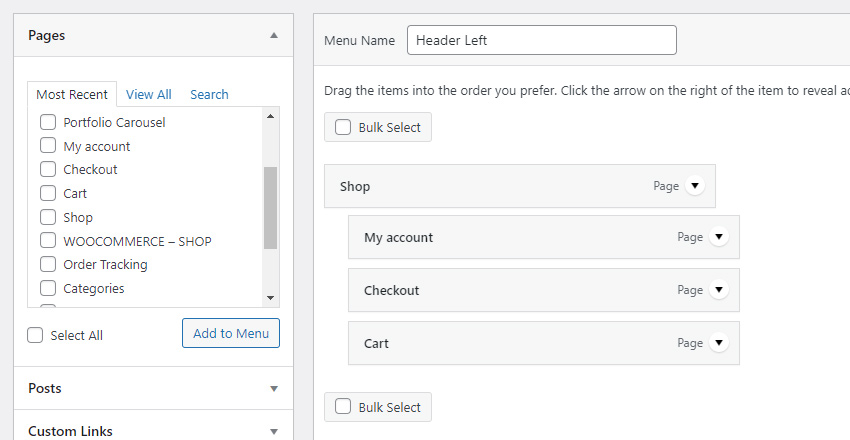
Note that to customize drop down settigns you need to edit them for a parent menu item.
On example below “Shop” is a parent menu item and other items are childs and will be inside of the drop down.
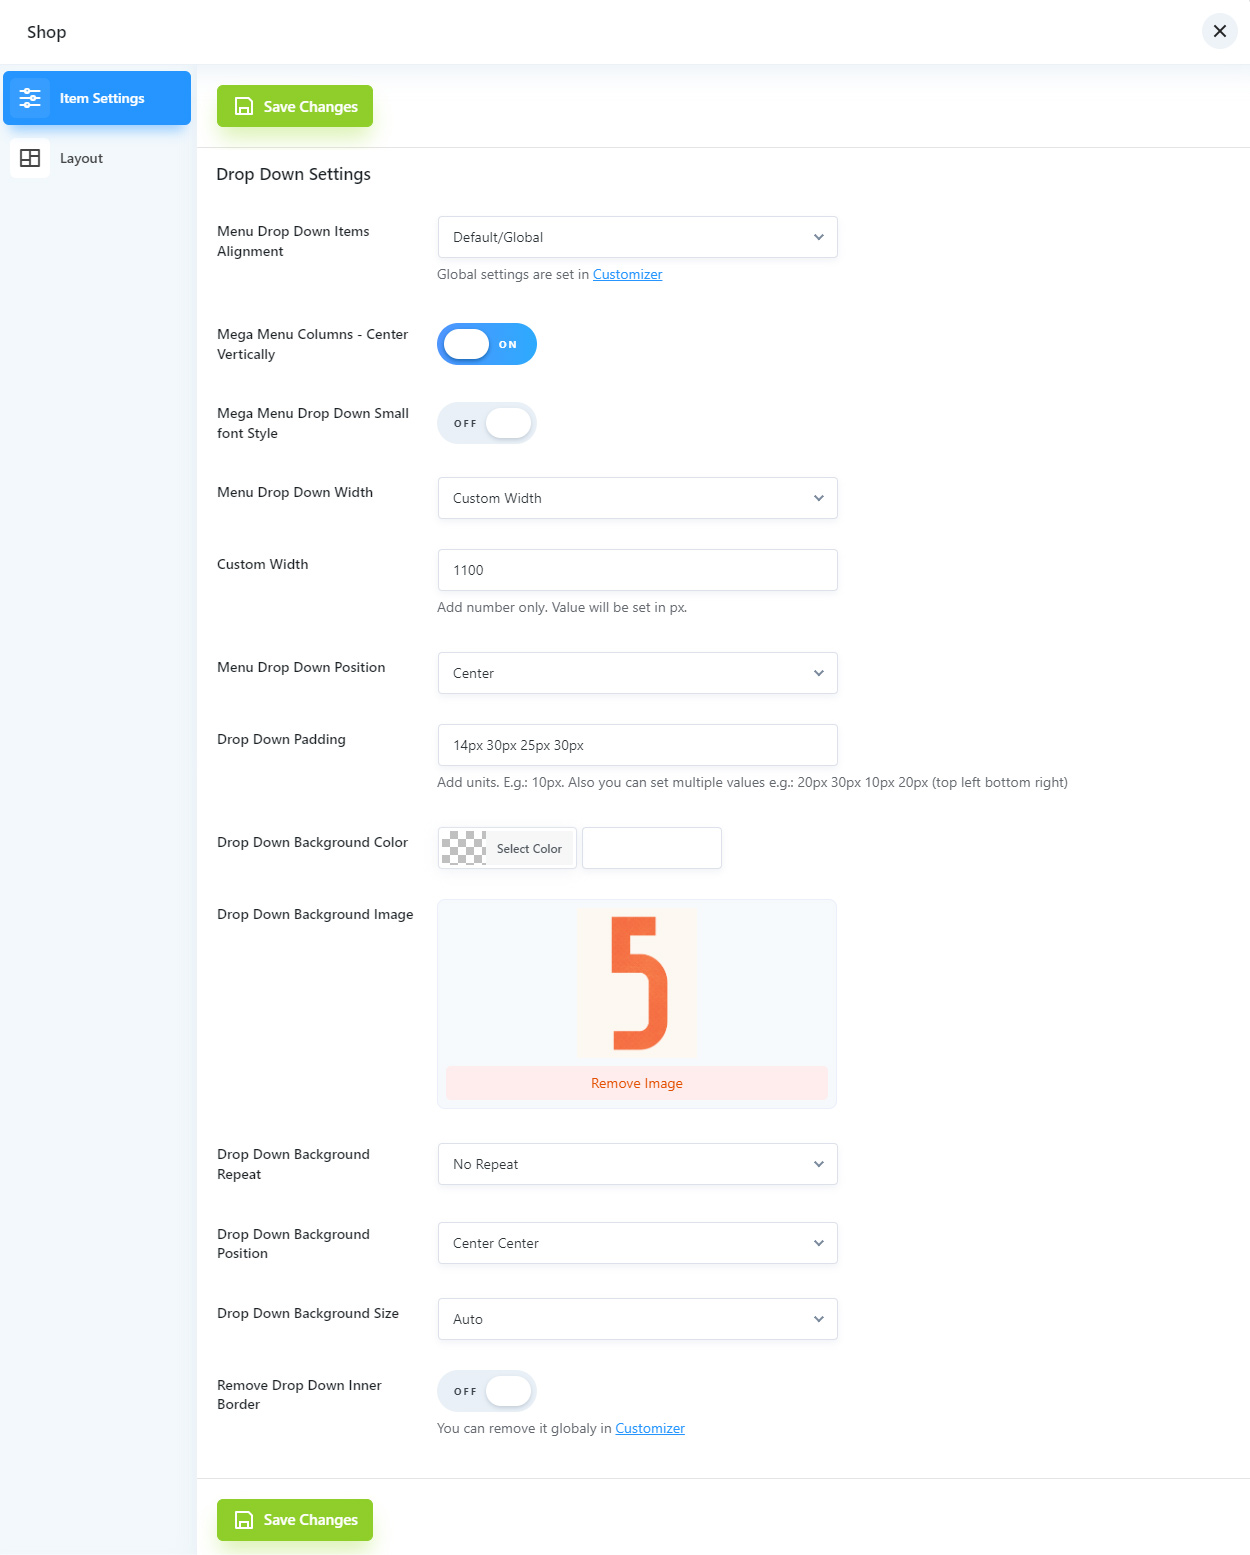
Menu Drop Down Items Alignment – this option allows you to set different menu items alignment for each drop down. However it is optional. If you need to change it for all items then it is better to do this via Customizer options.
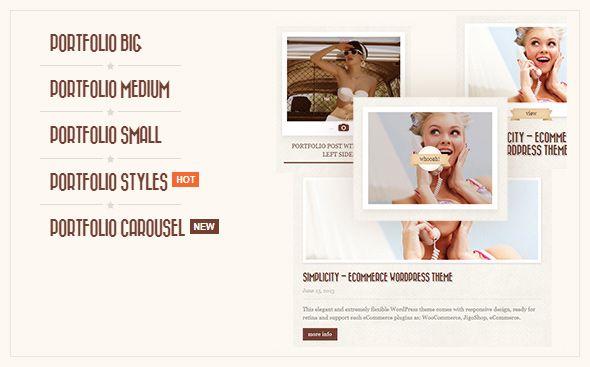
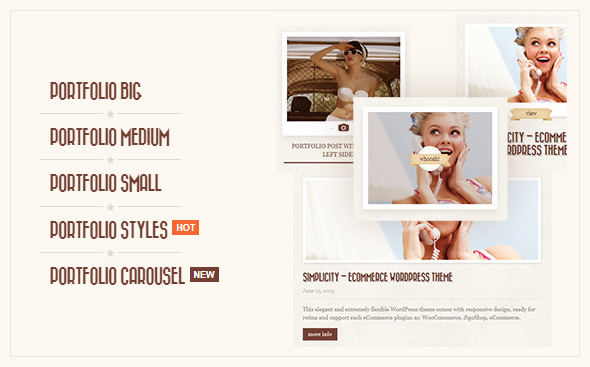
Mega Menu Columns – Center Vertically – on the examples below image height is bigger than the menu height. First example show it with this option disabled an so menu items alignemt to top. On the second image menu items are centered vertically.
Mega Menu Drop Down Small font Style – set alternative style for menu drop down items. You can adjust font setting for this style in Retro / Font Options. Useful if you have a lot of menu items in a drop down.
Mega Menu Drop Down Width – use this option set width for your menu drop downs.
It comes with following options:
- Fullwidth – it will render drop down from one side of the screen to another.
- Header Width – it will render drop down only from one side of the header to another.
- Custom Width – use it wisely. You can set any value here but note that people have different screen sizes so the content of the drop down can be squeezed on the small screens if you will set too high value.
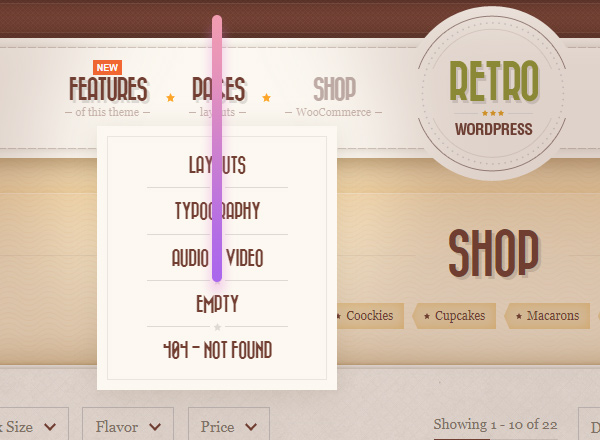
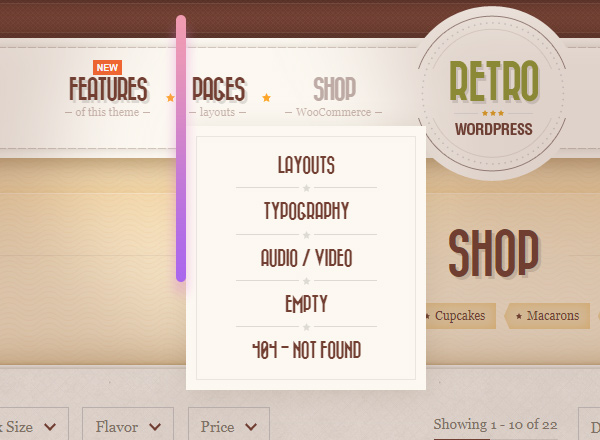
Mega Menu Drop Down Position – this is how a menu drop down is placed relatively to the menu item. Below are example of a drop downs centered and aligned to the left of the menu item.
Drop Down Padding – it is an inner drop down space. You can either set a single value like this 40px or you can set different spacing to each side e.g.: 12px 40px 20px 20px (top left bottom right) as shown on image below. Padding is highlighted in green.

Drop Down Background Image – you can add an image to a drop down and also adjust its behaviour using the repeat, size and position options.
Background Image Size – set cover if you want to stretch you image to cover the entire drop down area. Image will be cut on sides if it has different ratio that the drop down.
Use “contain” when you want to make sure that the entire image is always visible. Image will not be bigger than the drop down area.
Background Image Repeat – useful if you want to add a patern. Choose how exactly your image(pattern) will be repeated.
Remove Drop Down Inner Border – you can remove inner border from a specific drop down lets say if you added a backgroun image and border doesn’t really fit it. But keep in mind that if you want to change it for all drop downs than you can do this globally using a customizer options instead of changing it for each drop down.

