


Create a Navigation Menu in WordPress
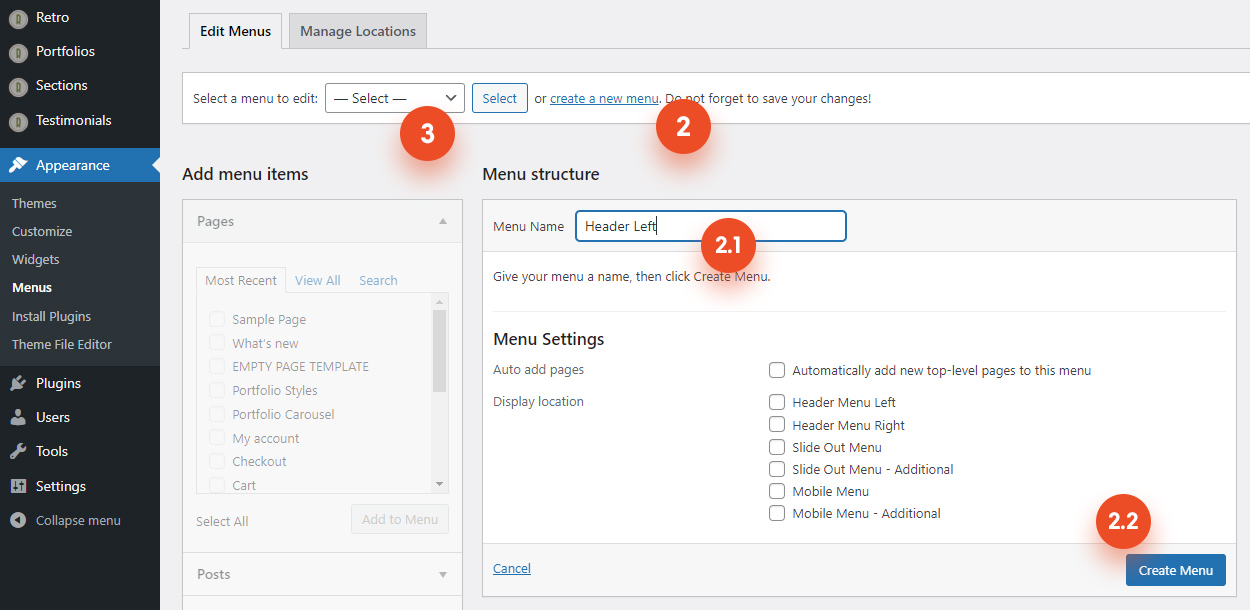
Go to Appearance > Menus in the WordPress sidebar. (1)
Click on the “Create A New Menu” link (2). Provide a name for your new menu (2.1), and then click the “Create Menu” button (2.2).
Or select to edit an existing menu. (3)
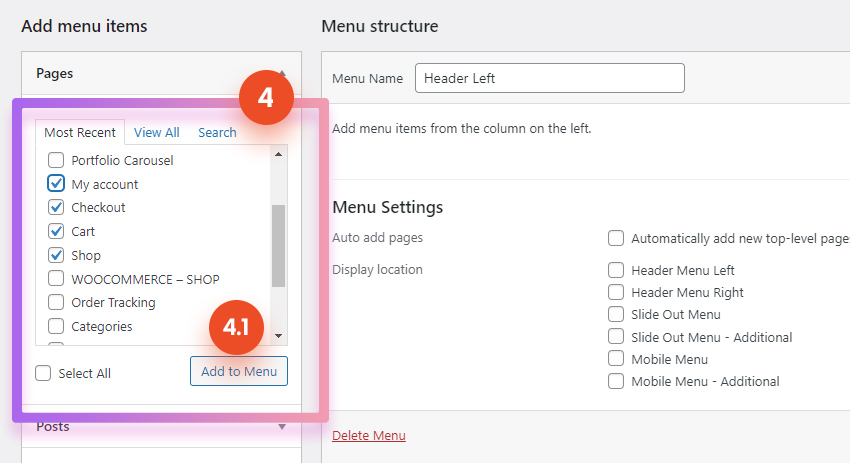
Add menu Item to the wordpress menu
To add a menu item, select one of your created pages from the left-hand side and click the “Add to Menu” button. You can also add various types of content from the “Add Menu Items” section. (4)
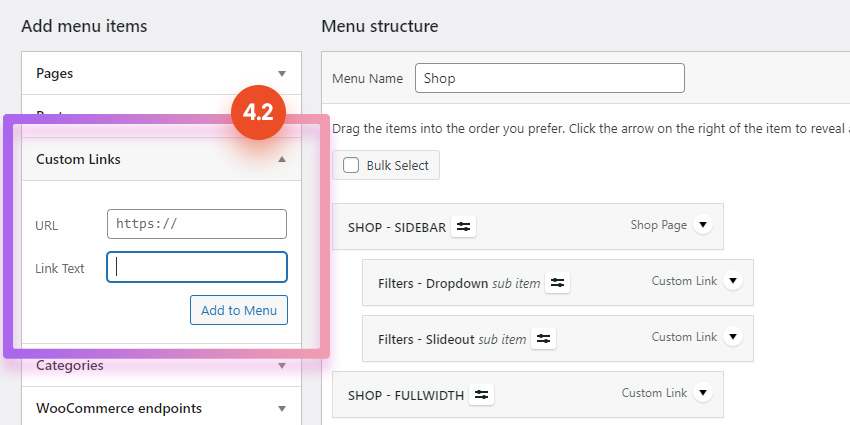
Custom Menu Items
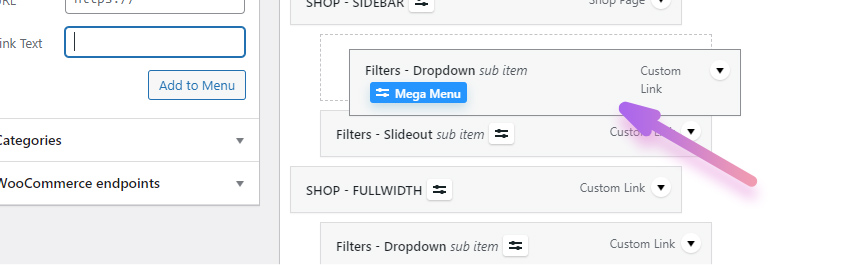
You can also add a menu item with a custom URL instead of selecting an existing page. To add a custom menu item, click on the “Custom Links” menu item bar (4.2), then enter a custom name and URL into the respective text fields and click “Add to Menu.”
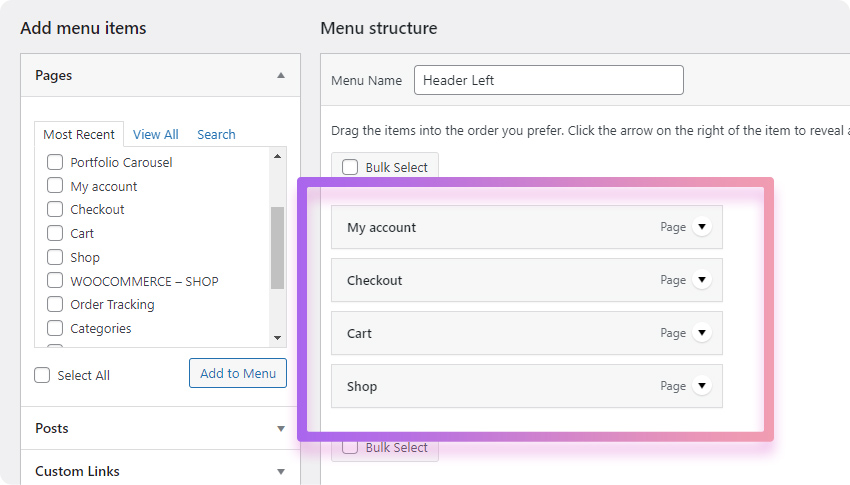
Manage Menu Items
Manage your menus using the drag and drop functionality (7). You can drag and drop menu items to change their order and hierarchy.
How to create Drop Down
To create a dropdown menu, simply drag a menu item below and slightly to the right of the menu item above it, and it will lock into place(7). This will set the menu item as a child item and it will automatically appear as a dropdown menu item.
Assign Menu to a Location
After setting up your menu, scroll down to the “Menu Settings” (5) block at the bottom of the page to assign the menu to one of the locations in the “Display Location” box.
You dont have to assign each menu to a location. For example if you created a menu that will be added inside of another menu drop down via shortcode, then you don’t need to assign it anywhere.
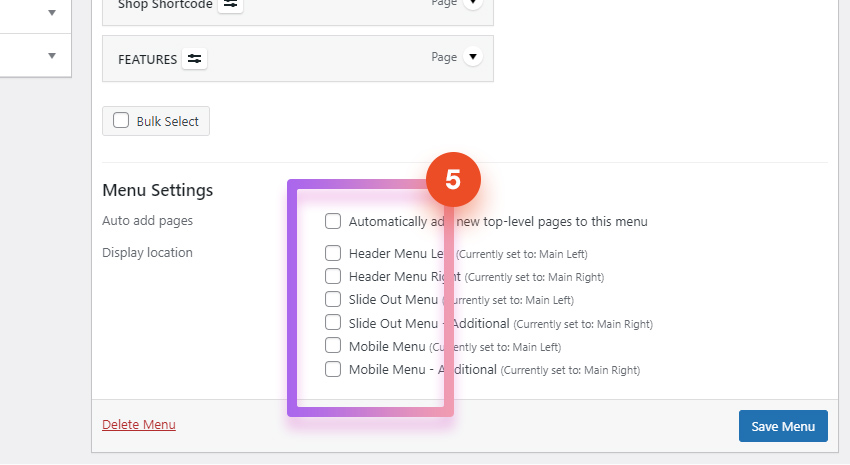
Retro theme comes with 6 locations. Depending on the header layout it is divided to 2 areas. Usually it is to the left and right to the logo.
How to create menu left and right to the logo

To create the same header with menu on the left and right to the logo as on our Demo, you need to create two menus and assign (5) one to Header Menu Left and second one to Header Menu Right.

