What are Widgets?
Similar to shortcodes, Wigets allow you to add various types of content and functionality to your WordPress website’s. But unlike shortcode are made for widgetized areas like sidebars, footers, and other. They can be used to add elements such as text, images, videos, forms, social media feeds, navigation menus, search bars, recent posts, categories, and much more.
Accessing Widget Management:
Log in to your WordPress admin dashboard.
Navigate to the “Appearance” menu and select “Widgets.”
Dragging and Dropping Widgets:
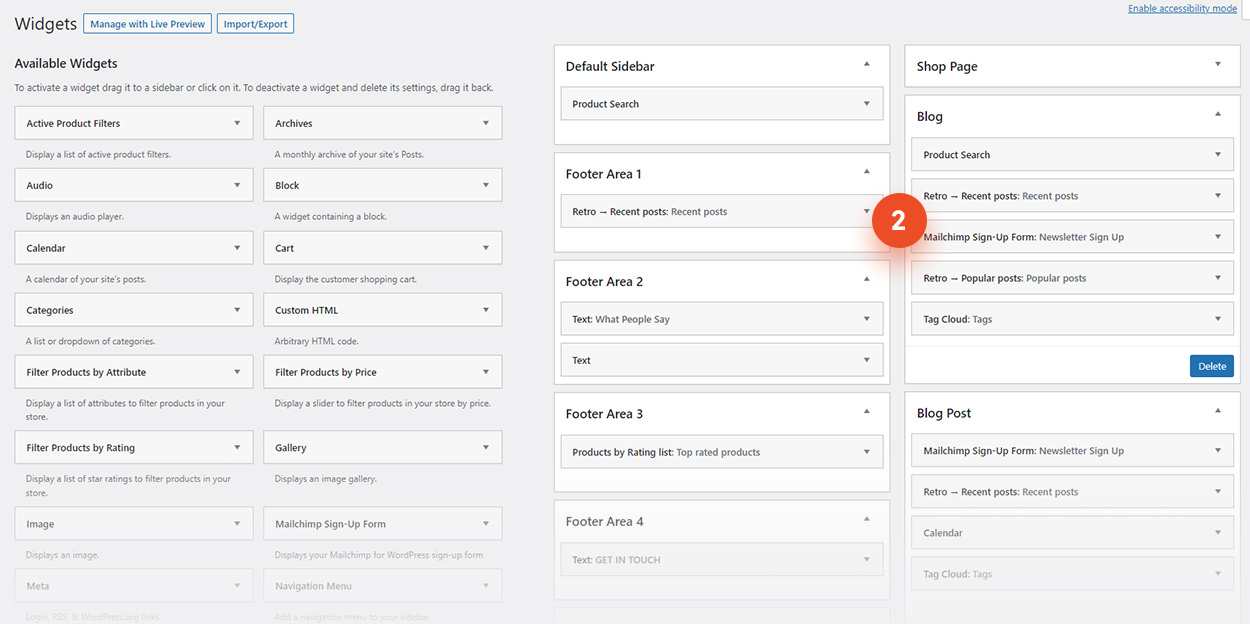
In the widget management area, you’ll see available widgets on the left side.
On the right side, you’ll see widgetized areas like sidebars and footers, where you can add widgets.
To add a widget, simply drag it from the left and drop it into the desired widgetized area on the right (2).
Configuring Widgets:
Once a widget is added to a widgetized area, you can configure its settings.
Settings might include things like titles, content, links, appearance options, and more.
Some widgets might have more complex settings, while others are simple and straightforward.
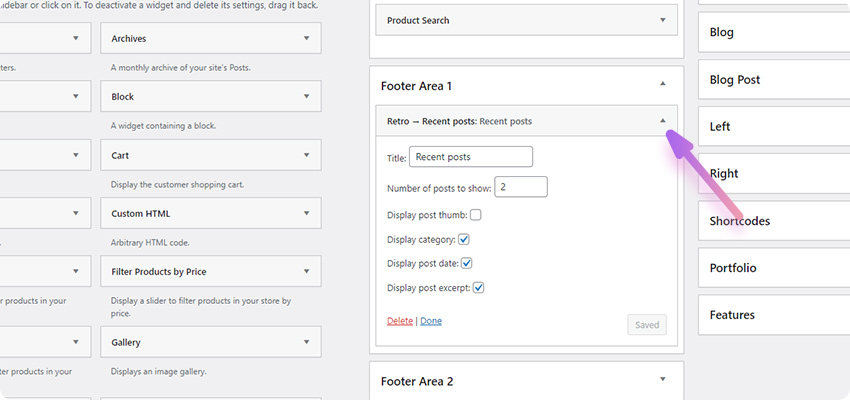
Click on a small arrow in right corner of a widget to expand its settings. See image below.
Reordering Widgets:
You can rearrange the order of widgets within a widgetized area by dragging and dropping them.
Removing Widgets:
To remove a widget from a widgetized area, simply drag it back to the available widgets section on the left. Or expand widget settings and click “Delete” button. See image above.
Custom Widget Areas
If you want to add a sidebar to a page, then you need to select a widget area as a content source for this sidebar. If you want to create a page specific sidebar, then you need to create a new widget area for this page. You can do this in Retro / General / Custom Widget Areas.
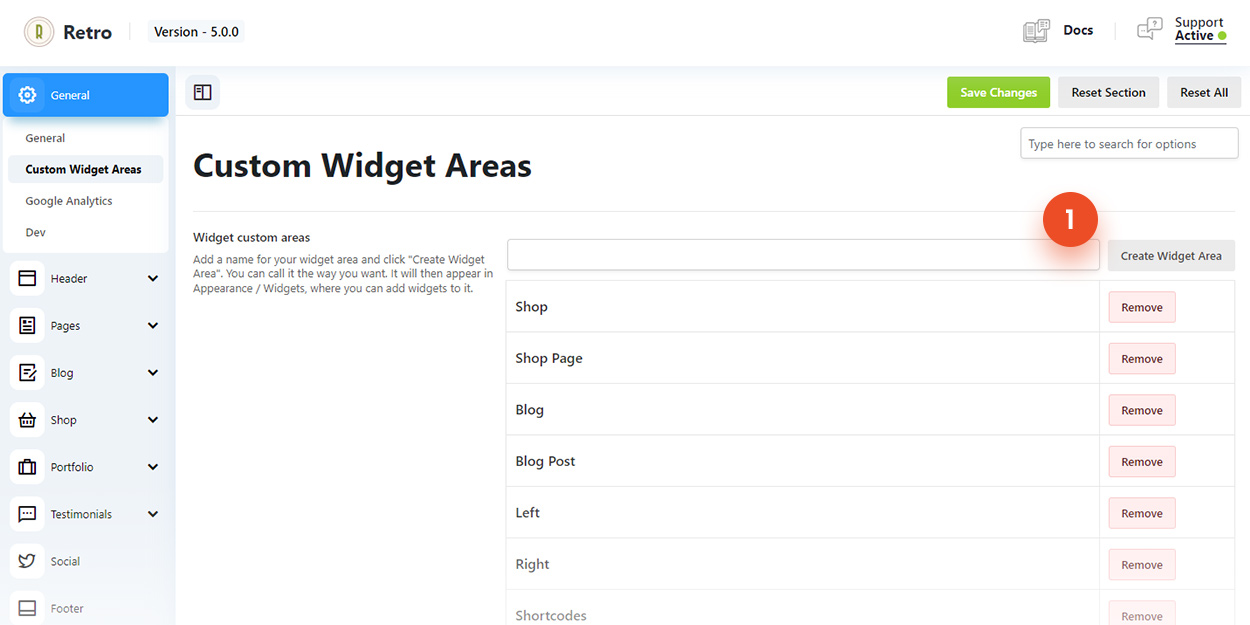
After you created a new area in Retro / General / Custom Widget Areas (1), you can find it in Appearance / Widgets on the right side. See image below (2).
To add a widget to a widget area simply drag it from the left side (list of available widgets) to a desired widget area on the right side(2).
Add widget to a sidebar
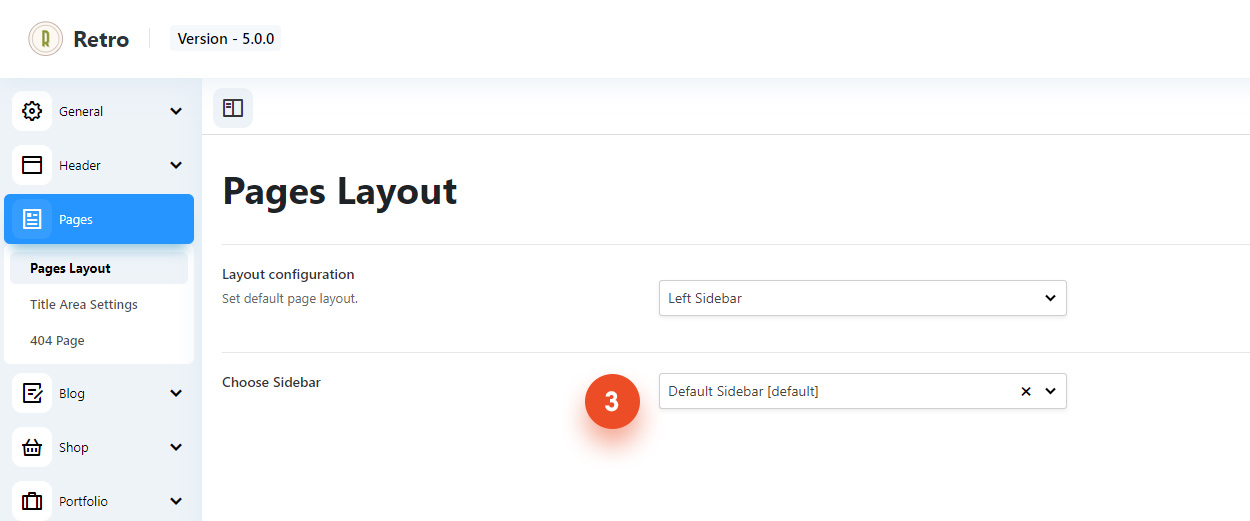
You created a custom widget area and added widgets to it. Now you can add it to a page sidebar. You can choose your custom widget area as a content source of a sidebar for pages in Retro / Pages / Pages Layout : Choose Sidebar (2). Check Page Layouts for more details.
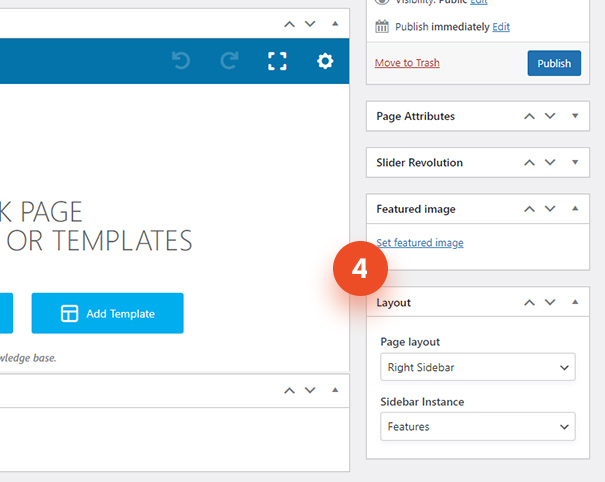
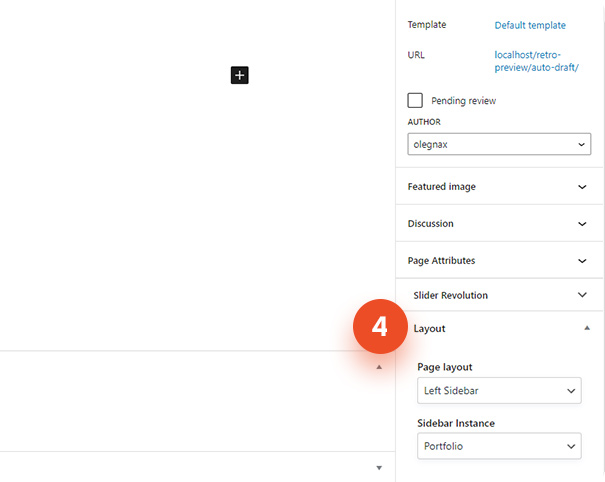
Or in Layout (4) metabox when you edit a page ( Layout / Sidebar Instance )
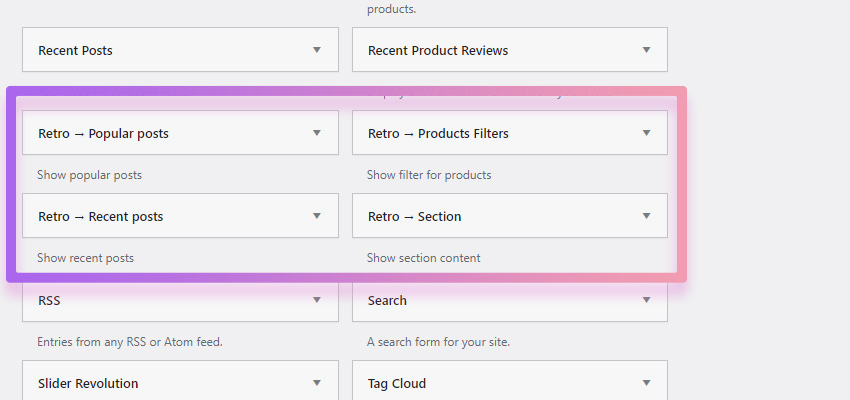
Retro Widgets
Retro theme adds a few new widgets, such as Popular and Recent Posts, Product Filters and Section.
Recent and Popular Posts widgets allows you to show list of a recent and popular posts in a sidebar or a footer widget area. You can see examples on our demo: https://retro5.olegnax.com/right-sidebar/
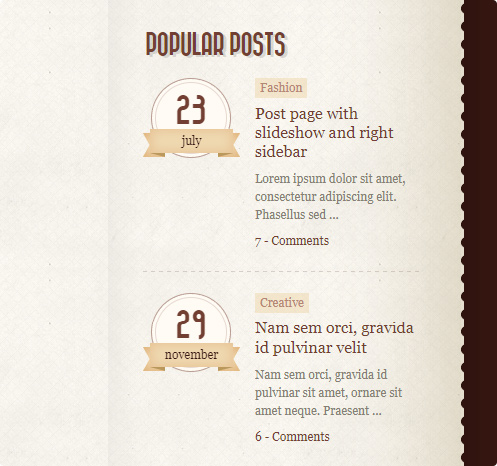
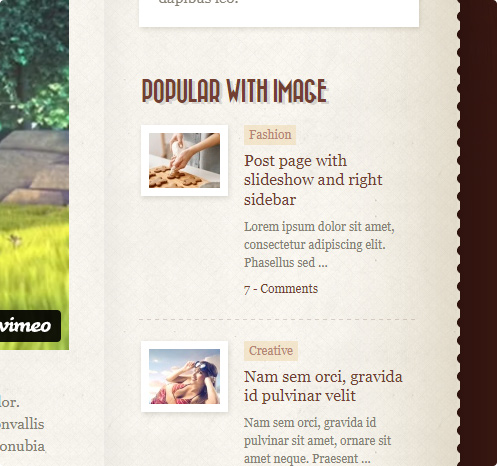
You can set how many posts you want to show.
Also each of these widgets haev options to show post thumbnail or a stylized date in a circle, aswell as to show/hide various meta elements such as data, category, short description (excerpt).
Product Filter widget allows to add shop filters in siderbar. Note that they will only work on a product page.
“Section” widget allows you to add any content to a widget area using retro sections. You can add shortcodes/elements in a section and then show it in a sidebar.
- Create a section and add a content there. See Sections docs for details.
- Then add a section widget to a widget area and choose your section in widget settings.
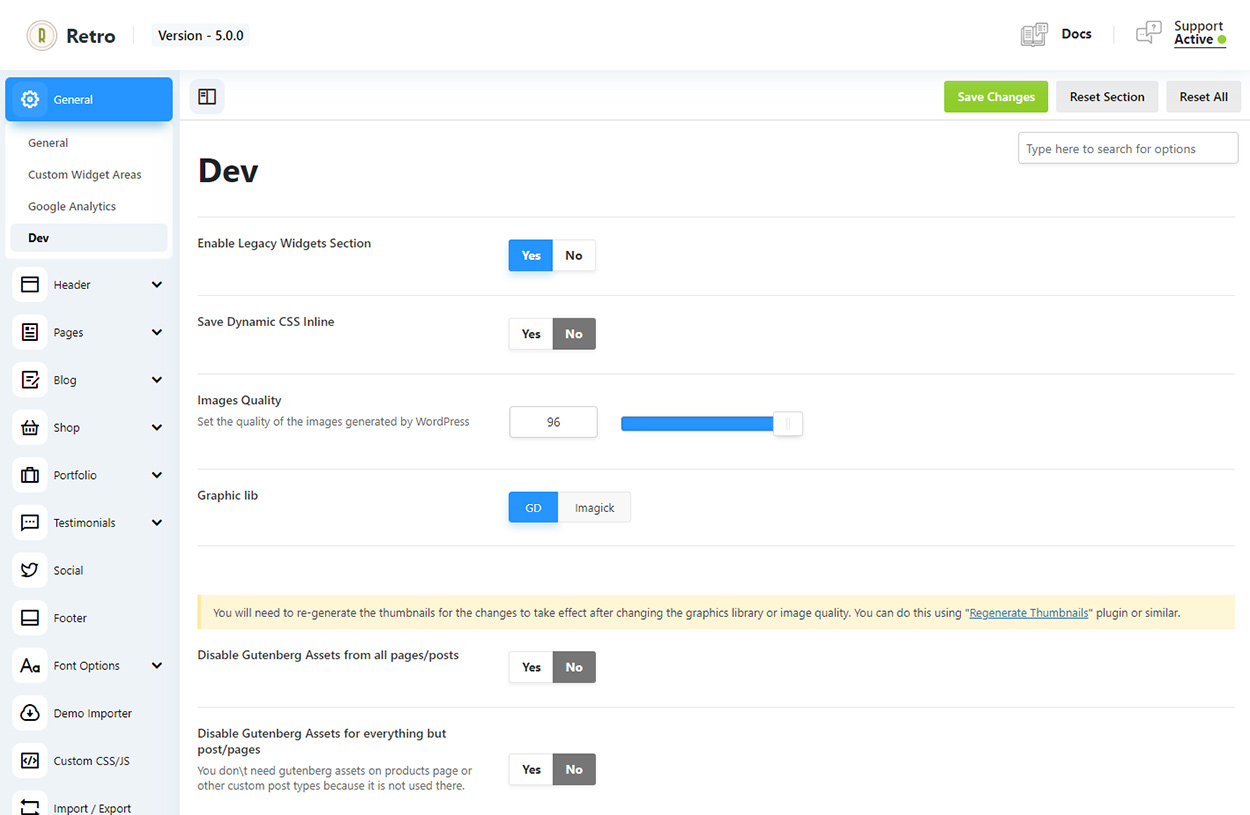
How to switch to blocks
Widgets are now legacy functionality and you can use block instead of widget for sidebars. If you wish to switch to block you can do this in theme settings. Navigate to Retro / General / Dev and disable “Enable Legacy Widgets Section“. This will change Appearance / Widgets page in admin panel. Widgets will be replaced with blocks.